You should think about these things before you start planning your planting. For example, you need to consider how much sunlight your area receives and how much rain you get. Also, you need to consider the soil in your region. It may be necessary to amend the soil with nutrients or organic material to improve its quality.
Preparing your gardens for the growing season
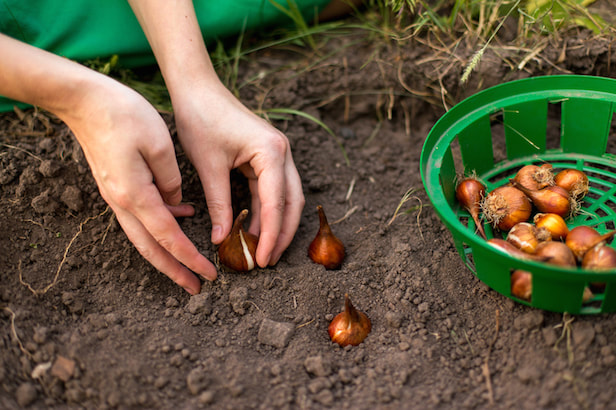
Planning is the first step in preparing your garden for the growing season. The first step is to decide where and what kind of plants you want. Consider whether the plants will need shade or sunshine and then make sure you choose the right kind of seeds. Seed catalogs and online stores are full of varieties, including heirloom seeds. For selecting seeds, local seed sources can be a great choice.
It's springtime in the Northern Hemisphere, and that means it's time to start thinking about your vegetable garden. Spring gardening preparation activities can be practical or magical. One biodynamic farm tradition is to bury cow skulls in ground. Some gardeners believe cow skulls bring luck to their crops.
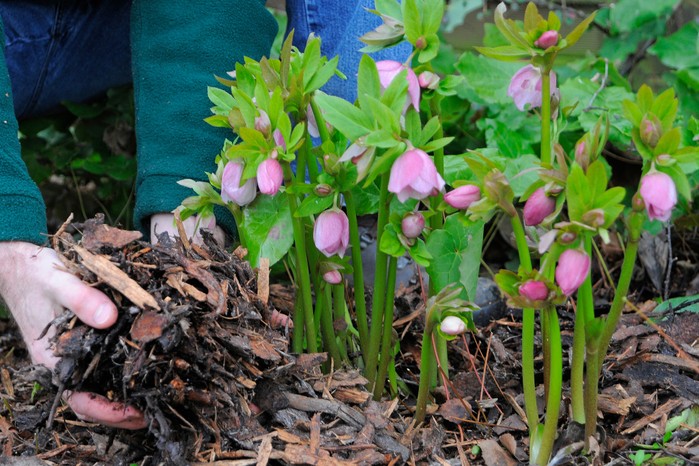
In addition to preparing the soil for planting, you should also be adding nutrients to the soil. These could include seaweeds, kelp organic soil conditioners composted manure blood and bone, homemade fertilizers and worm castings. Then, spread a thick layer of mulch over the area to prevent weeds and keep moisture in.
Cleaning tools
Spring is a great opportunity to clean garden tools. To begin, wash your tools thoroughly using a gardenhose. Then use a wirebrush to remove any dirt and grime. You can also clean your tools with a disinfecting liquid. For metal handles use fine steel wool, or vinegar. If you have wooden handles on your tools, you can rub them using linseed and turpentine. You should clean the tools with a cleaning solution.
Your success in the garden depends on the cleanliness of your gardening tools. Clean tools prevent rust and keep their edges sharp. It removes any soil that may harbor harmful pathogens. In addition to keeping your tools clean, you should clean your pots, as well, to avoid cross-contamination that can lead to disease in your plants.
After cleaning the tools, disinfect them. One part vinegar to two portions water. Soak your tools in this solution for about 10 minutes, and then rinse with a clean cloth. Continue the process if necessary. To disinfect your tool, you can use bleach or rubbing alcohol.
Fertilizing plants
In order to ensure that your plants are healthy and flourish in spring gardening, fertilizing them is an essential step. All plants can be fertilized at this point, but annuals will need special attention. These plants require fertilization at the beginning of each growing season. You should fertilize your annuals at least once a month between April and June and every two weeks between July and August. If you live in warm climates, you should stop fertilizing for the summer and start fertilizing again in the fall.
The types of fertilizer you apply to your plants in spring depend on what type of garden you have. If you have a perennial or annual garden, you can fertilize it with a mix of topical and liquid fertilizers. You can also use a slow-releasing fertilizer, such as a general-formula. Because perennials have larger root systems and require more room for growth, it is important to properly space them.
Do a soil analysis to find out which fertilizer type you should use. This will let you know how much fertilizer you need and avoid overfertilizing or wasting your plants. The soil test can help you determine the amount of fertilizer your plants require, since plants use different amounts each year.
Divide perennials
Dividing perennials is one of the best ways to propagate them. You can divide perennials when they flower in spring and fall. You can also split them during winter. Spring is the best time to split them, as the cooler temperatures make it easier to move the divisions and divide them. Blooming plants will be more focused on reproduction than root stress and will therefore not survive root stress well. Divide perennials in fall or spring to prevent this problem.
After division, it is important to plant the divisions as soon possible. Make sure to dig a hole twice the size of your root ball, and then backfill it with soil. Keep the crown of your plant at least 2 inches above the soil. You should water the divisions frequently to avoid them drying out and losing nutrients.
Another reason to divide perennials is to increase their flowering power. If a plant has been in the same place for many years, it might have lost its blooms or become depressed. It may also have developed a bald spot in its center crown. It may need to be stooped in order for it to remain upright. This is because plants are more likely to compete for nutrients and water. Also, limited airflow can cause diseases. Dividing perennials into smaller pieces will reduce competition and promote new growth.
Putting up trellises
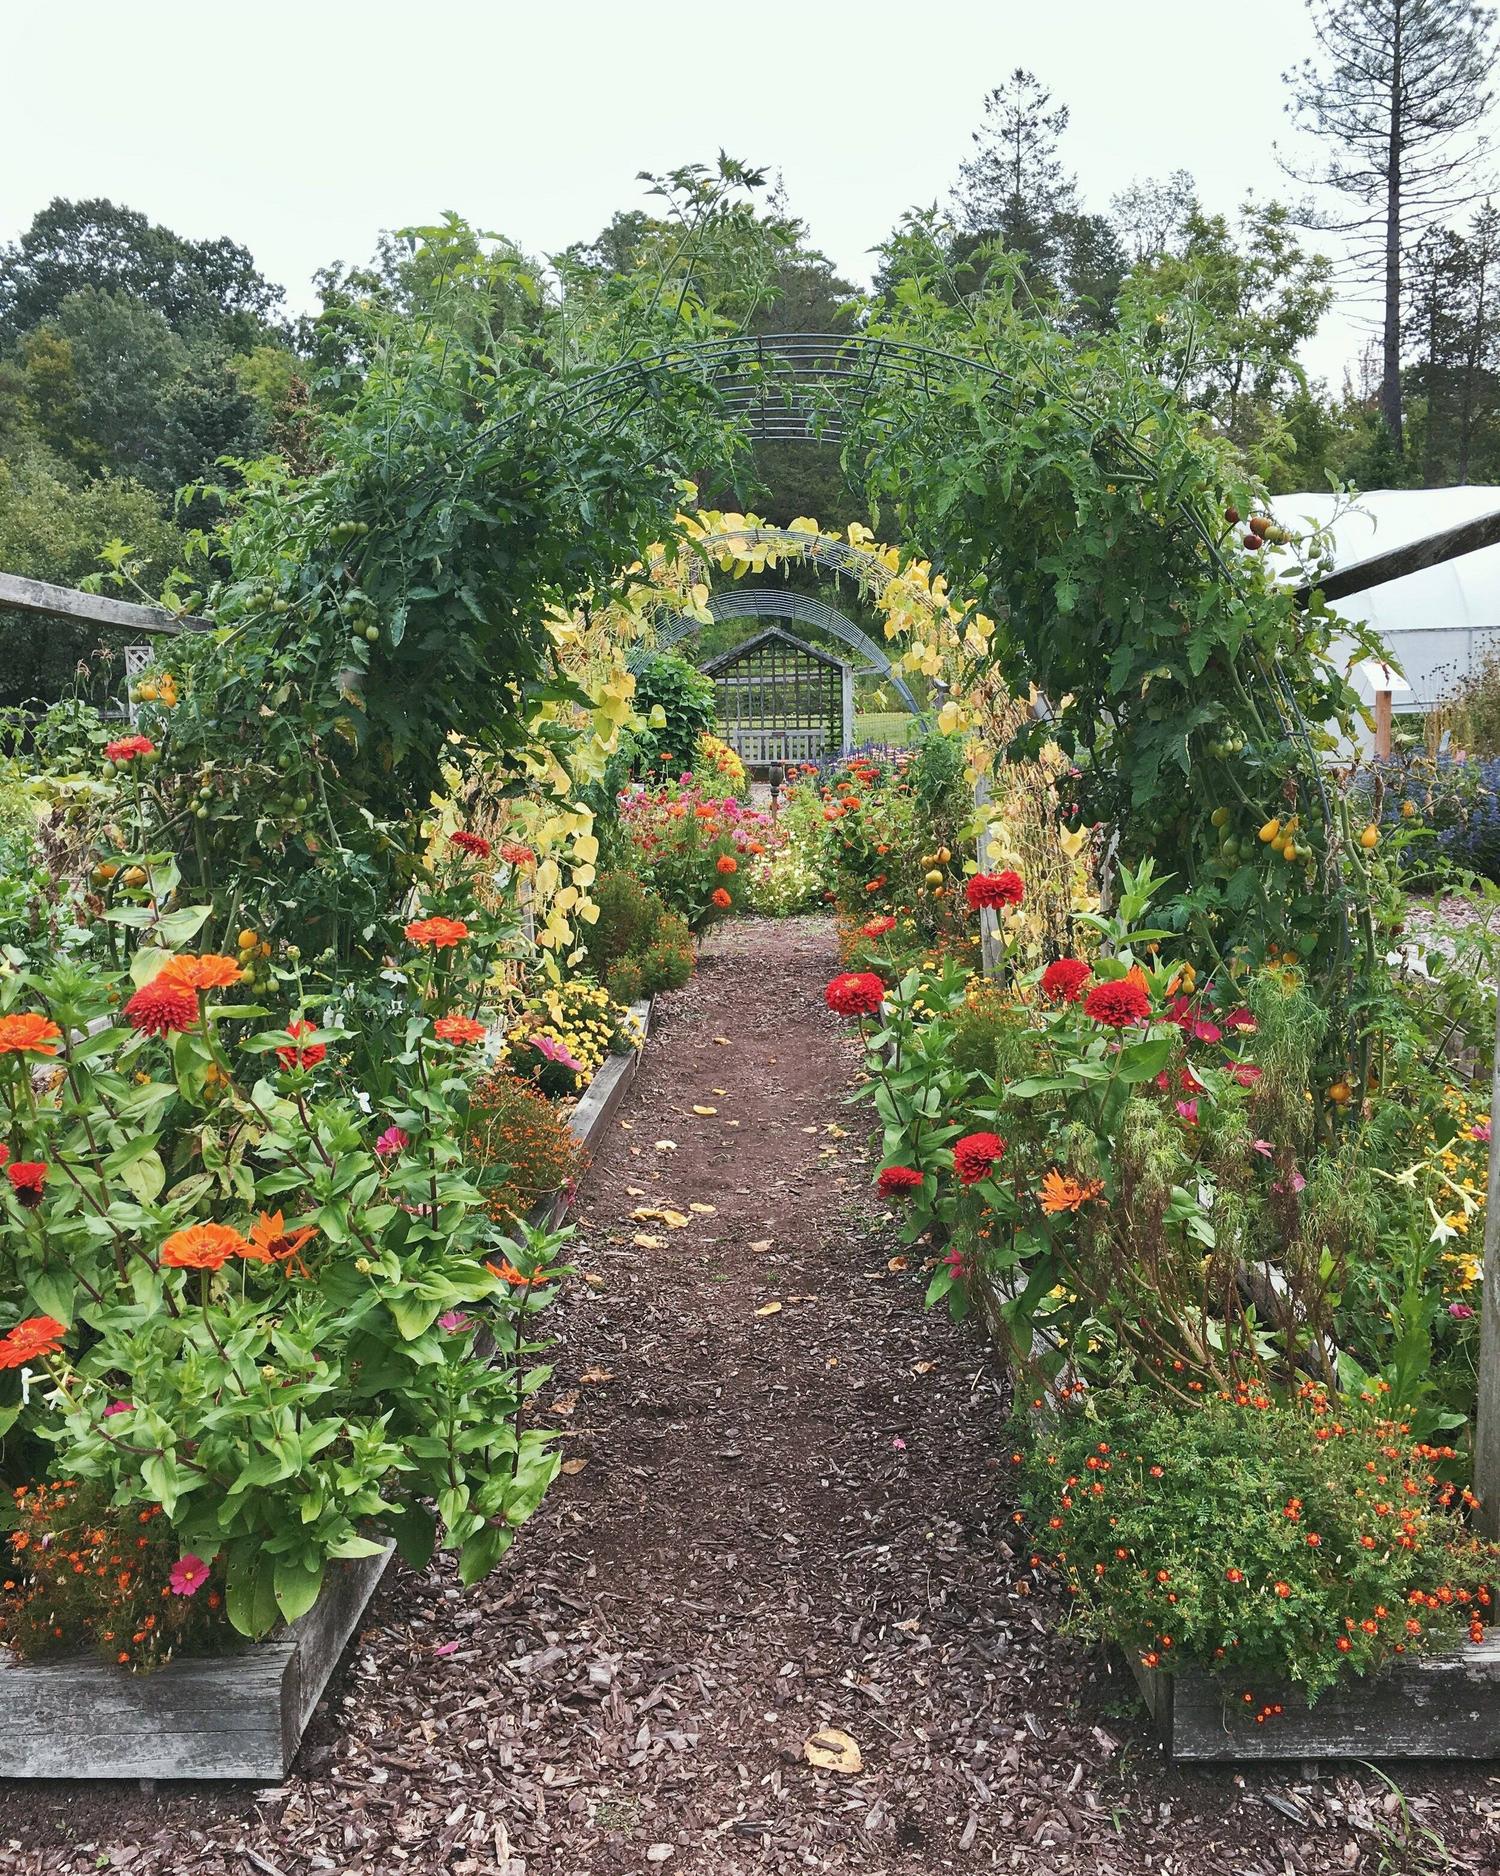
Planting trellises is a great way to help your plants. You can have them freestanding or attached to posts. They can also be mobile. You can choose from metal, wood, or plastic mesh for your trellis. Some trellises have angled bottoms that allow the posts to be buried in the ground.
Many vegetables can be easily picked when grown on a trellis. It will be easier to identify and pick squash plants that are hanging from a structure. A trellis is also a benefit for pollinators. They will be able more easily to fly from flower to flower.
Plants that are suitable for your trellis need sufficient sunlight to bloom. The right amount of sunlight will result in better quality flowers. You can get the most from your trellis by planning the length and spacing for each vine. A trellis can be very effective if it compliments other plants or is the only focal point in your garden.
Next, you need to place the trellis posts. To create an arch-shaped shape, double the number you would use for fence posts. However, longer posts will provide more support. The soil should be at least two feet deep. The wire mesh should be attached to the posts using metal tabs. Baling wire can also be added to the corners at the bottom and top for additional stability.
Pruning flowers in early spring
Pruning early flowering shrubs to bloom in spring or late winter is a difficult task. Dormant buds are best avoided as this will reduce blooming. Look for dead wood and cut off any branches if necessary.
The stems should be cut to one-third of the total length in order to prune early flowering shrubs. This will maintain the plant’s natural form while also giving it more sunlight and air. This will increase flowering. Pruning should be done sparingly and you should only trim one-third the largest stems. If necessary, you can prune with loppers and a pruning saw.
It is also a good idea to prune summer-blooming plants during winter. This will encourage new growth, and flowering. However, it is important to know which shrubs you are pruning and when. You should be aware that some shrubs are more sensitive than others and which ones require pruning. Hydrangeas bloom best on old wood, however. For best blooming, do not prune them in the fall.
Spring-flowering shrubs should be pruned only in the summer and early fall. This will encourage the growth of new branches which may not survive winter. This can cause damage to your shrubs. Pruning them in winter can cause damage to your shrubs. Make sure you remove any diseased, double-crossed or dead branches. Pruning them in the spring or late winter is a good idea.
Removing weeds
Eliminating weeds is an important task in spring gardening. Weeds, which compete for space with your plants, can become a major source and vector of disease and pests. By manually removing weeds in your garden, you will be able to enjoy more beautiful flowers and vegetables in the months to come.
There are many options for getting rid of weeds. First, you can use boiling water to kill them. This method will kill the roots and seeds that can be found in the soil. This method is good for lawns, gardens, or walkways. However, be careful, as boiling water will kill any plant that comes into contact with it.
You can also use hand tools to get rid of weeds. These tools typically have a six- to 12-inch handle and prong-like fingers. Hook neck hook hoes can be used to pull weeds from between your plants. You can also use a hand shovel to remove large weed roots.
FAQ
Which seeds can be planted indoors?
The best seed for starting indoors is a tomato seed. Tomatoes can be grown quickly and they bear fruit all year. If you are growing tomatoes in pots, take care when you transplant them to the ground. The soil could dry out if you plant too early. This could lead to root rot. Be aware of diseases like bacterial wilt which can quickly kill plants.
Is it possible to grow vegetables indoors?
Yes, it is possible for vegetables to be grown inside during winter months. A greenhouse or grow light will be required. Make sure to check with local laws before doing this.
What is a planting schedule?
A planting calendar lists the plants that should all be planted at various times during the year. The goal of a planting calendar is to maximize plant growth and minimize stress. For example, early spring crops like lettuce, spinach, and peas should be sown after the last frost date. Spring crops later include squash, cucumbers, summer beans, and squash. Fall crops include cabbage, potatoes, cauliflower, broccoli and cauliflower.
What is the first thing to do when starting a garden?
The first step to starting a garden is to prepare it. This includes adding organic matter like composted cow manure, grass clippings leaves, straw, and so on, which will help to provide plant nutrients. Next, plant seeds or seedlings into prepared holes. Finally, water thoroughly.
What size space is required for a vegetable garden?
A good rule is that 1 square foot of soil needs 1/2 pound. Therefore, 100 pounds of seeds is required for a surface of 10 feet x 10 feet (3 m x 3 m).
What is the difference between aquaponic gardening or hydroponic?
Hydroponic gardening makes use of nutrient-rich water rather than soil to grow plants. Aquaponics combines fish tanks with plants to create a self-sufficient ecosystem. You can have your farm right at your house!
Are pots possible to grow fruit trees?
Yes! Fruit trees can be grown in pots if you're short on space. Make sure your pot is drained to prevent the tree from getting rotted by excess moisture. Also, ensure the pot is deep enough to hold the root ball. This will help prevent stress on the tree.
Statistics
- 80% of residents spent a lifetime as large-scale farmers (or working on farms) using many chemicals believed to be cancerous today. (acountrygirlslife.com)
- Today, 80 percent of all corn grown in North America is from GMO seed that is planted and sprayed with Roundup. - parkseed.com
- According to the National Gardening Association, the average family with a garden spends $70 on their crops—but they grow an estimated $600 worth of veggies! - blog.nationwide.com
- According to a survey from the National Gardening Association, upward of 18 million novice gardeners have picked up a shovel since 2020. (wsj.com)
External Links
How To
Basil growing tips
Basil is one of the most versatile herbs you can use in your kitchen. Basil is great for flavouring dishes, as well as adding flavor to soups and sauces, pasta, and desserts. These are some great tips to grow basil indoors.
-
It is important to choose the right location. Basil is an annual plant that will only survive one season if placed in the correct place. It likes full sun but can tolerate partial shade. If you're growing it outside, find a spot that has good air circulation.
-
Plant the seeds. Basil seeds must be planted at the latest two weeks before last frost. Place the seeds 1/2 inch deep into small pots containing potting mix. The pots should be covered with clear plastic wrap. Germination typically takes around ten days. Once they are germinated, transfer them to a protected area where the temperatures are at 70 degrees Fahrenheit.
-
Transplant the seedlings once they're big enough to handle. The plastic wrap should be removed and the seedlings transplanted into larger containers. To drain excess moisture, fill each container with potting mixture. Add more potting mixes as necessary. The containers should be placed in a sunny location or under indirect lighting. Mist the plants daily to prevent wilting.
-
Apply a thick layer mulch to the top of your plants after the danger of frost has passed. This will protect them from cold weather and reduce water loss.
-
You should water your plants often. Basil needs to be watered regularly in order for it to thrive. Use a rain gauge to check how much water the plants need. Also, use a timer to turn off the irrigation system during dry spells automatically.
-
Take your basil out at the peak of its life. You can encourage bushier growth by picking the leaves more often.
-
Dry the leaves on paper towels or screens. The leaves can be stored in glass jars or bags in their refrigerator.